Documentation
Everything you need to know about RuneSpoke Hub
Quick Start: Code → GitHub → QA → Deploy
RuneSpoke Hub is the place where your code goes from a commit to a production deploy on your own AWS account. This guide walks you through the five-minute setup, then ships your first PR.
What you'll have when you're done
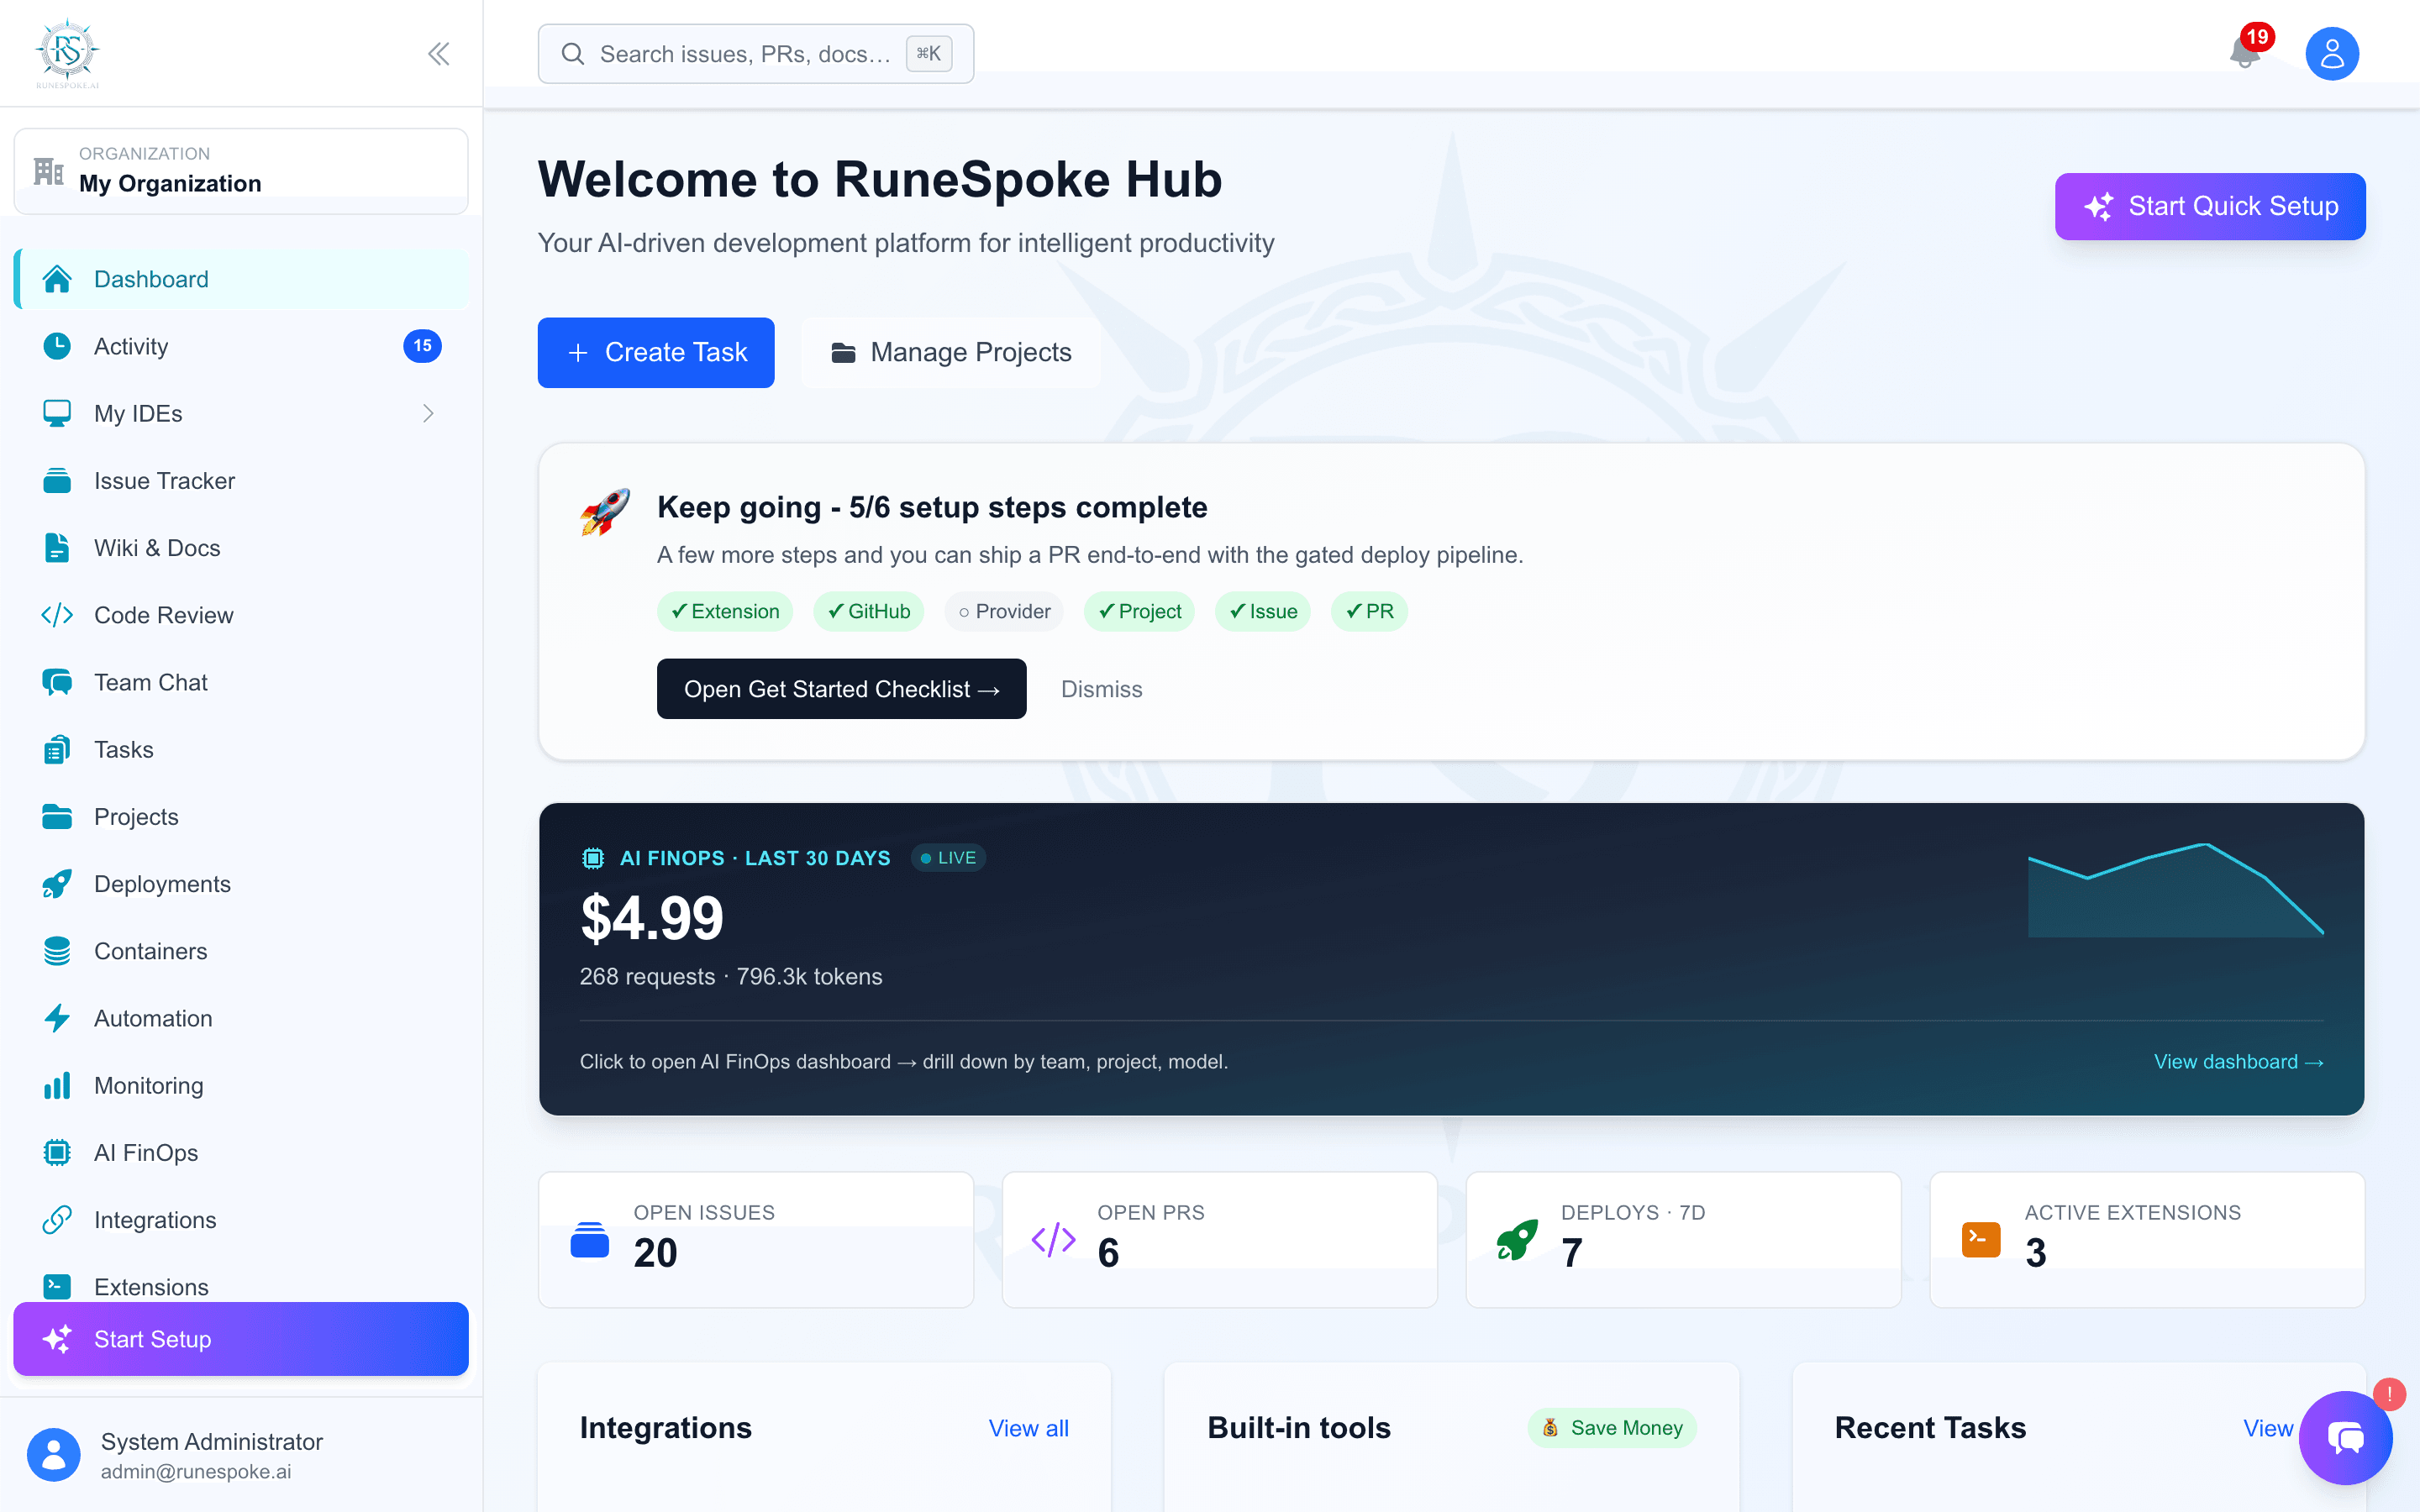
- GitHub connected so RuneSpoke can read your PRs and CI status
- An AWS account connected for deploys (Docker on EC2)
- A project, an issue, and a PR - all linked together
- A merged PR with a green CI gate, deployed via the audit-logged Deploy button
Step 1 - Connect GitHub
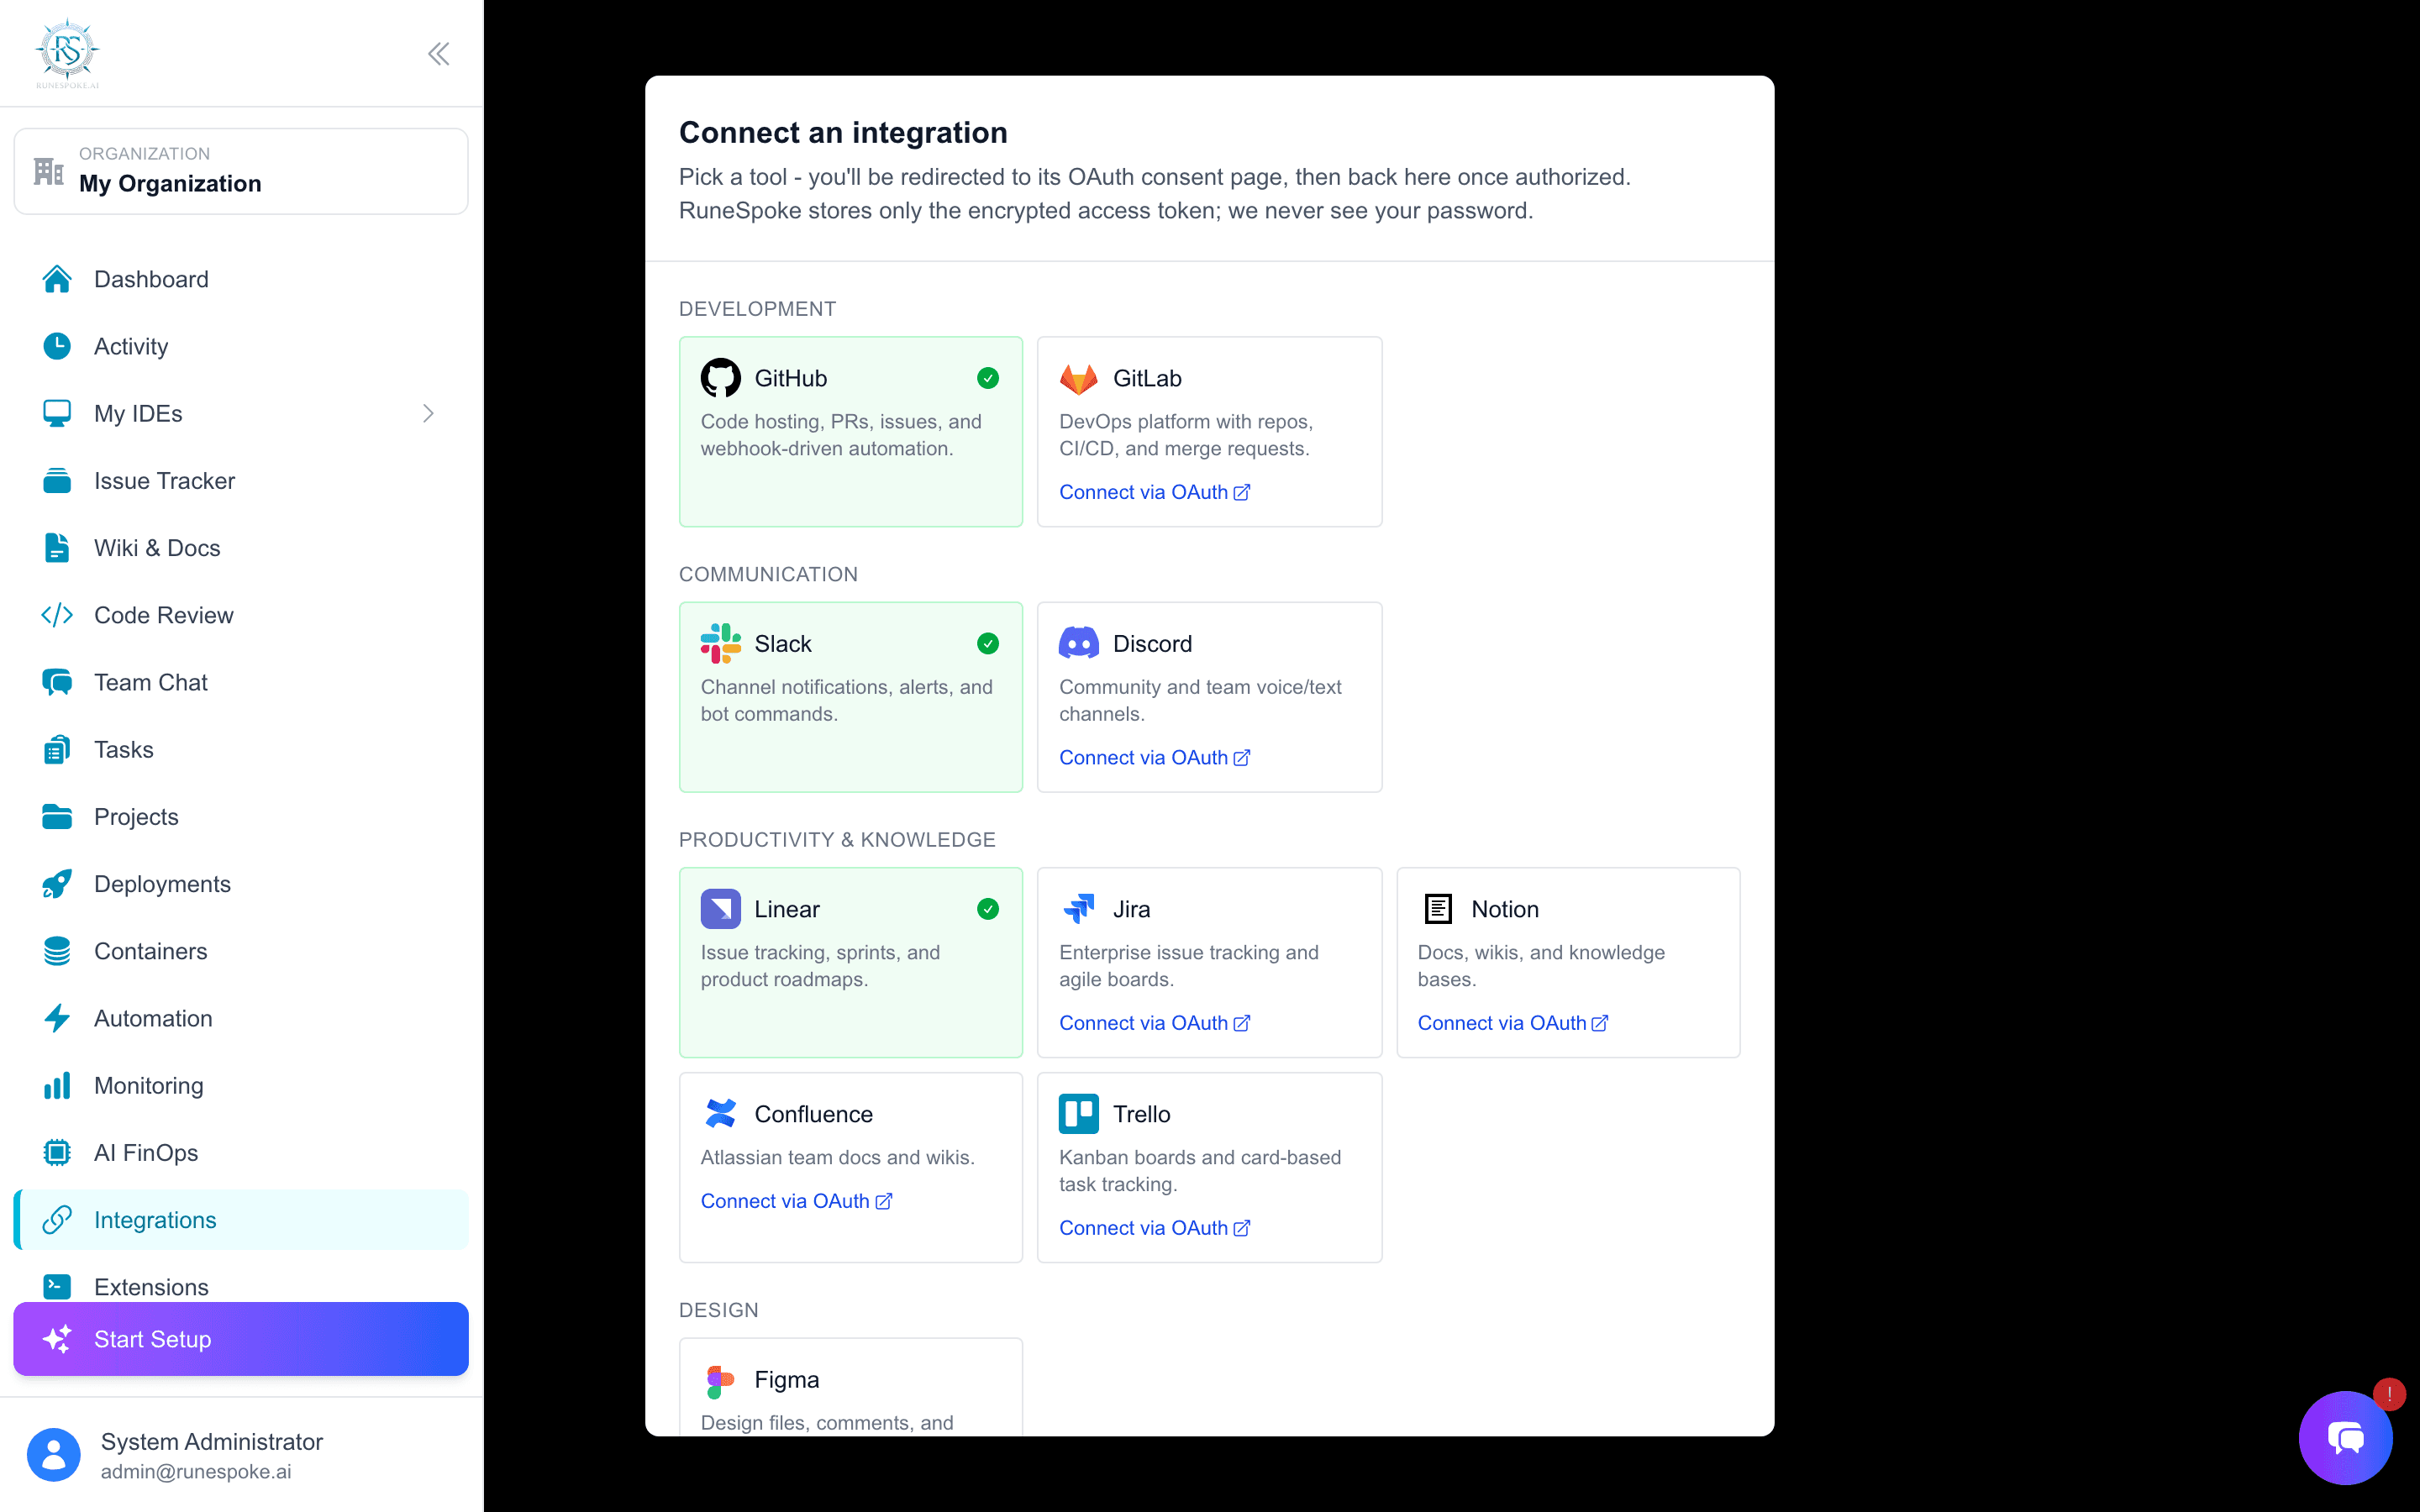
- 1Open Integrations in the sidebar
- 2Click the GitHub card → Connect
- 3Approve the OAuth scopes in the popup (repo + read:user)
- 4You'll land back on Integrations with GitHub marked Connected
Tip: The token is stored encrypted in the credentials vault - never written to disk in plaintext.
Step 2 - Connect AWS
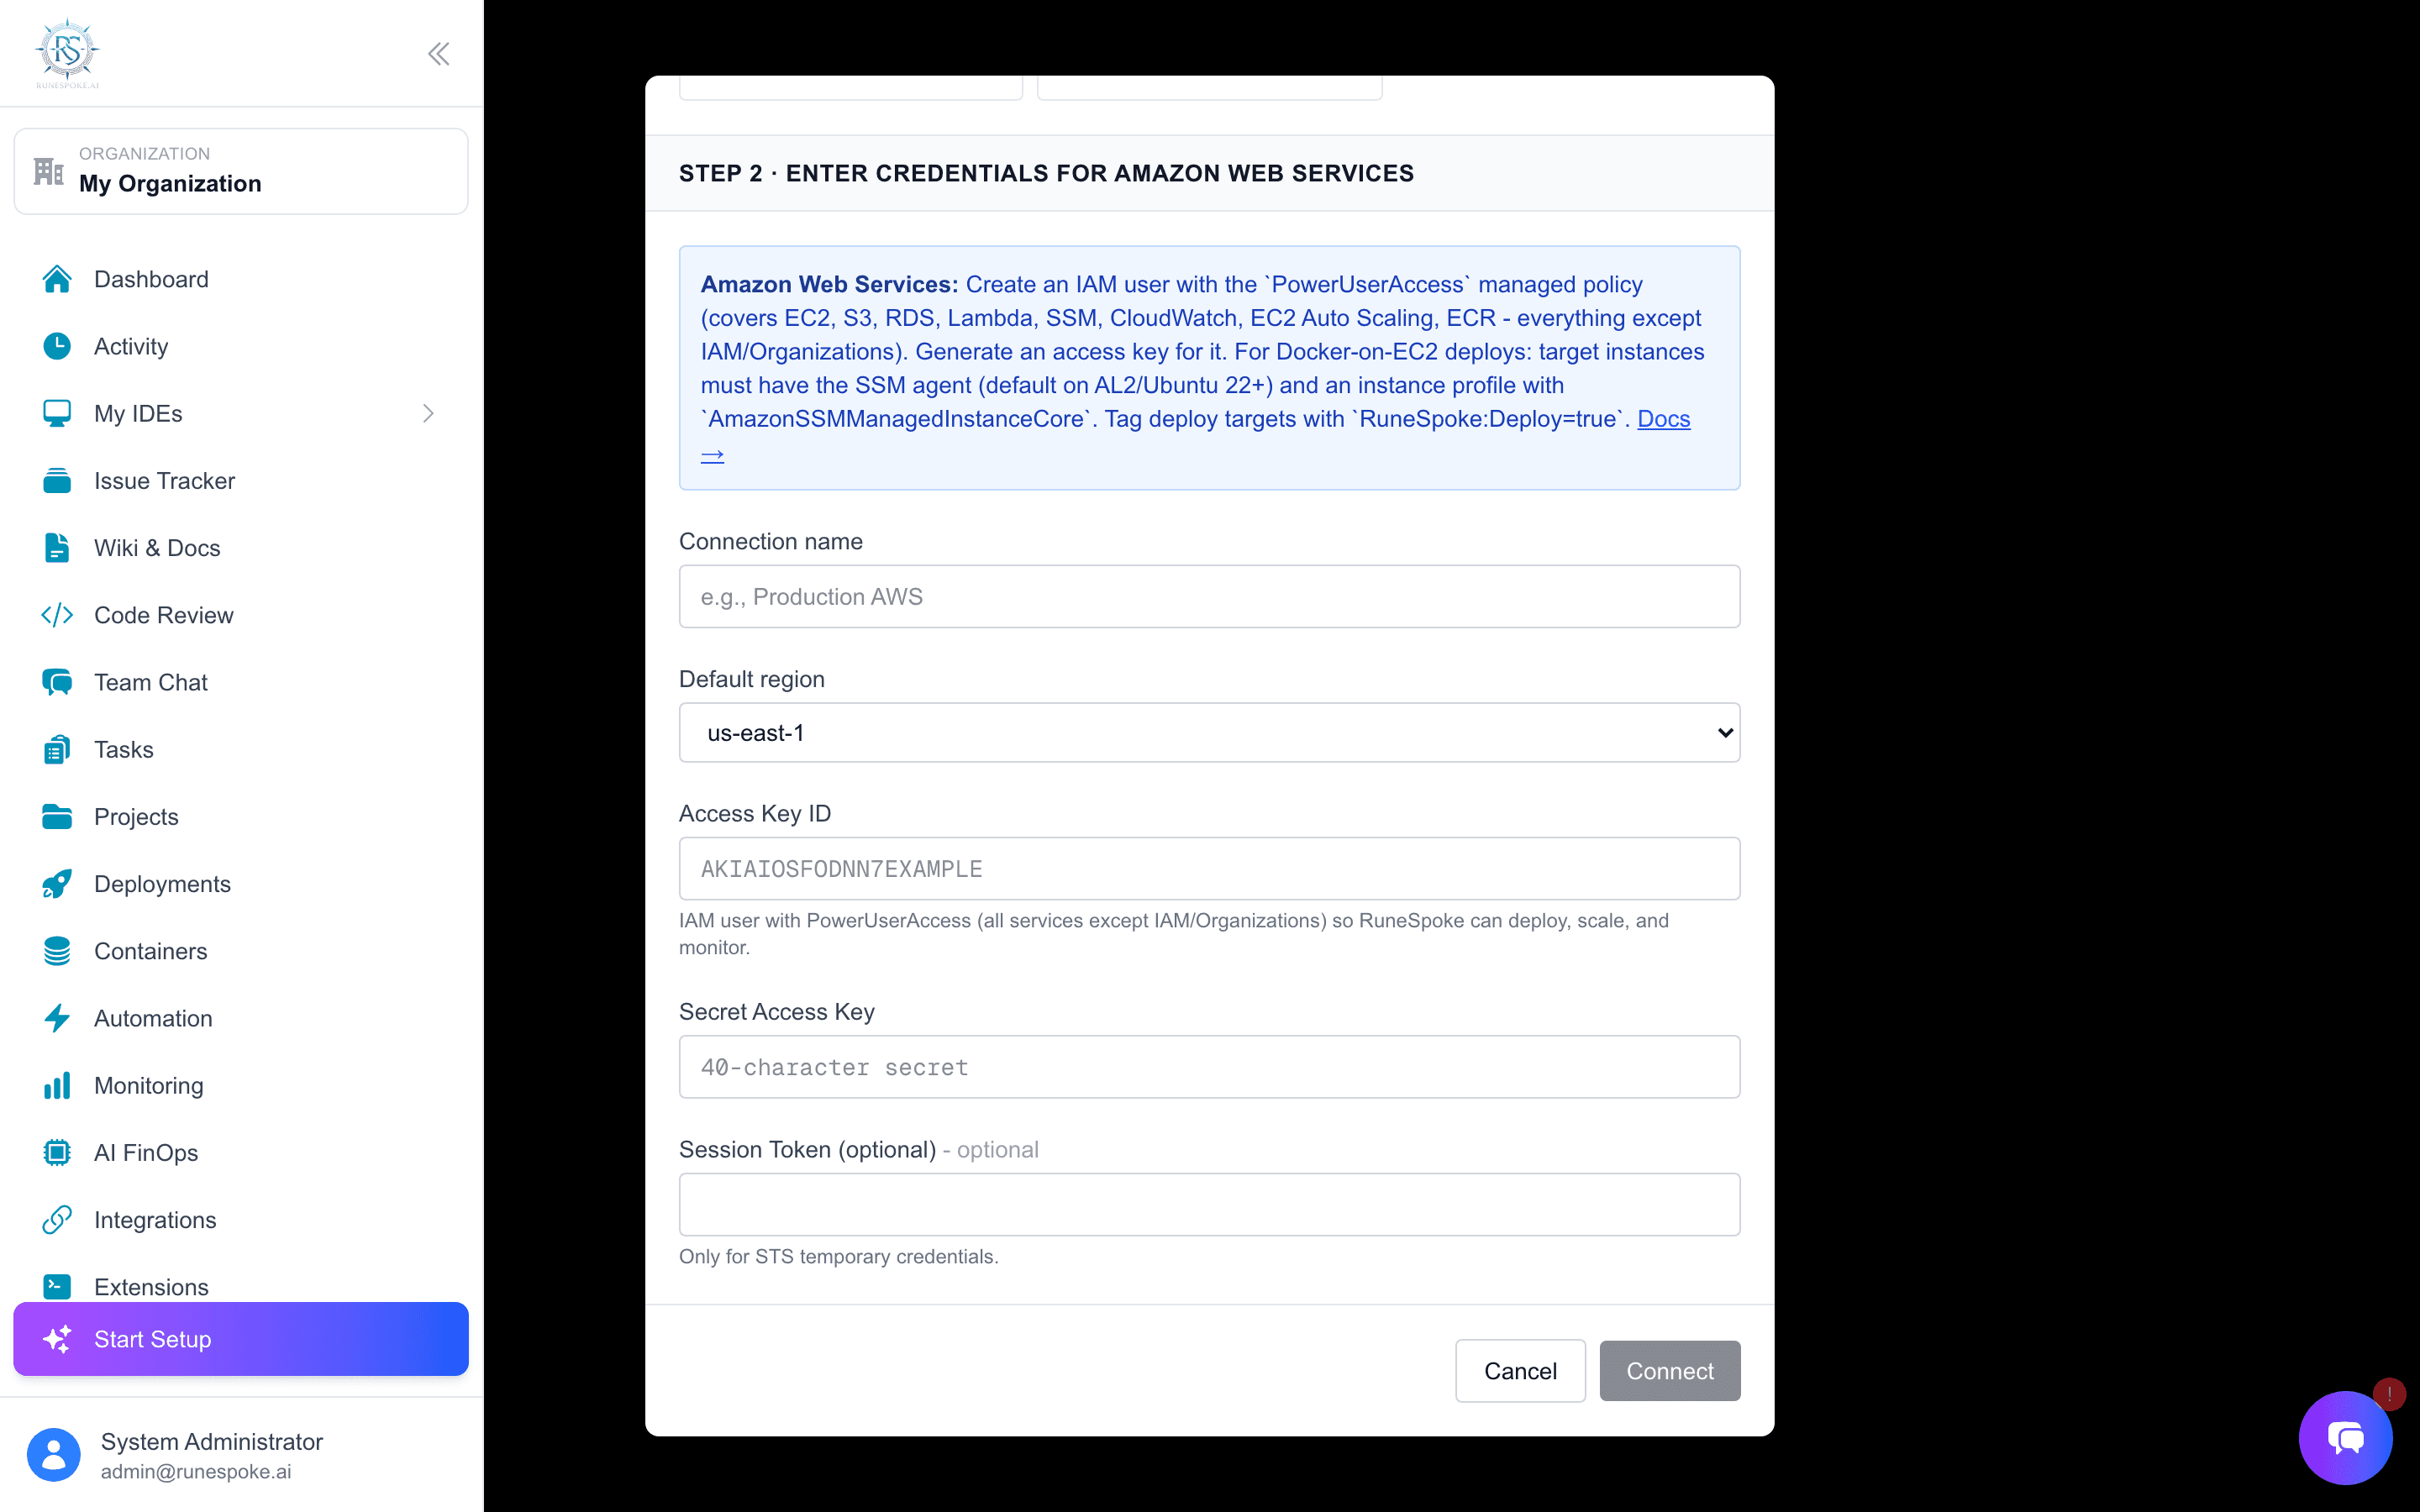
- 1Open Cloud Providers
- 2Click Connect AWS and paste an access key pair with EC2 + SSM + SES permissions
- 3RuneSpoke runs an
STS GetCallerIdentityprobe - green checkmark means the credentials work - 4Open the connection card → register the EC2 instance(s) you want to deploy to
Tip: Deploys run via AWS SSM Send-Command - no SSH key required, no inbound ports on the EC2 instance.
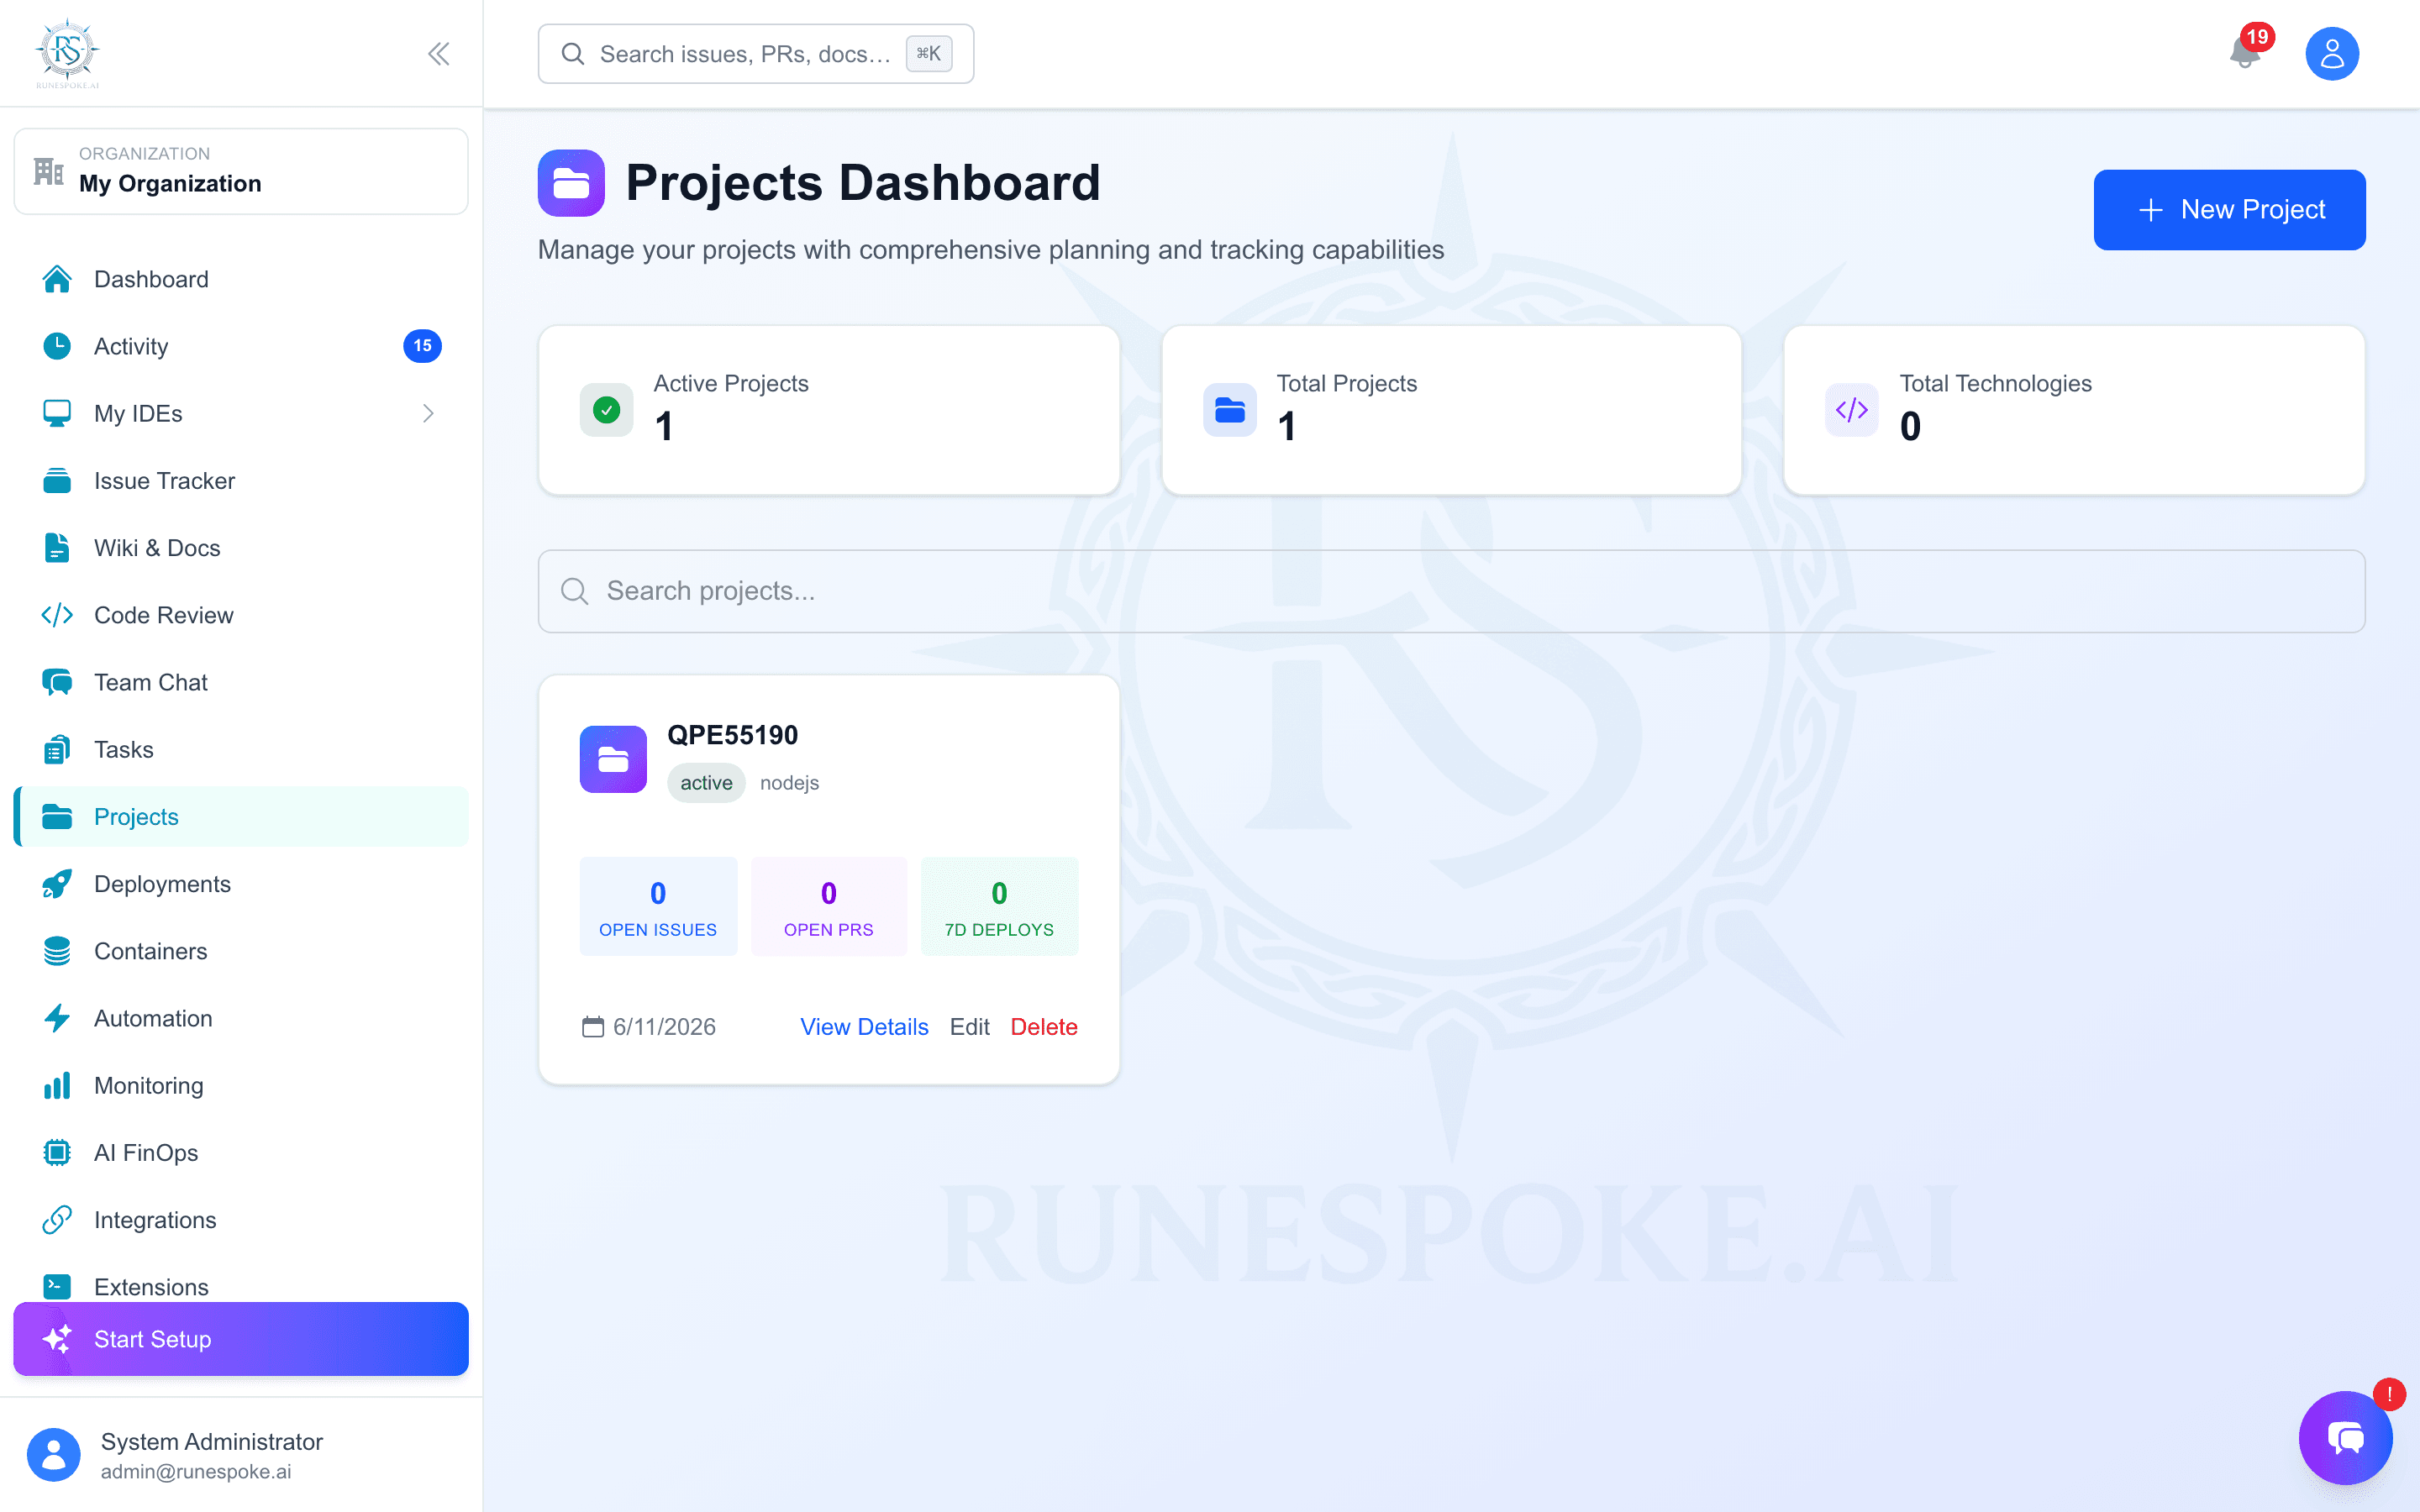
Step 3 - Create your first project
- 1Open Projects → New Project
- 2Name it after the app you're shipping; description and tech stack are optional
- 3The repository URL field accepts an empty string if you want to skip it for now
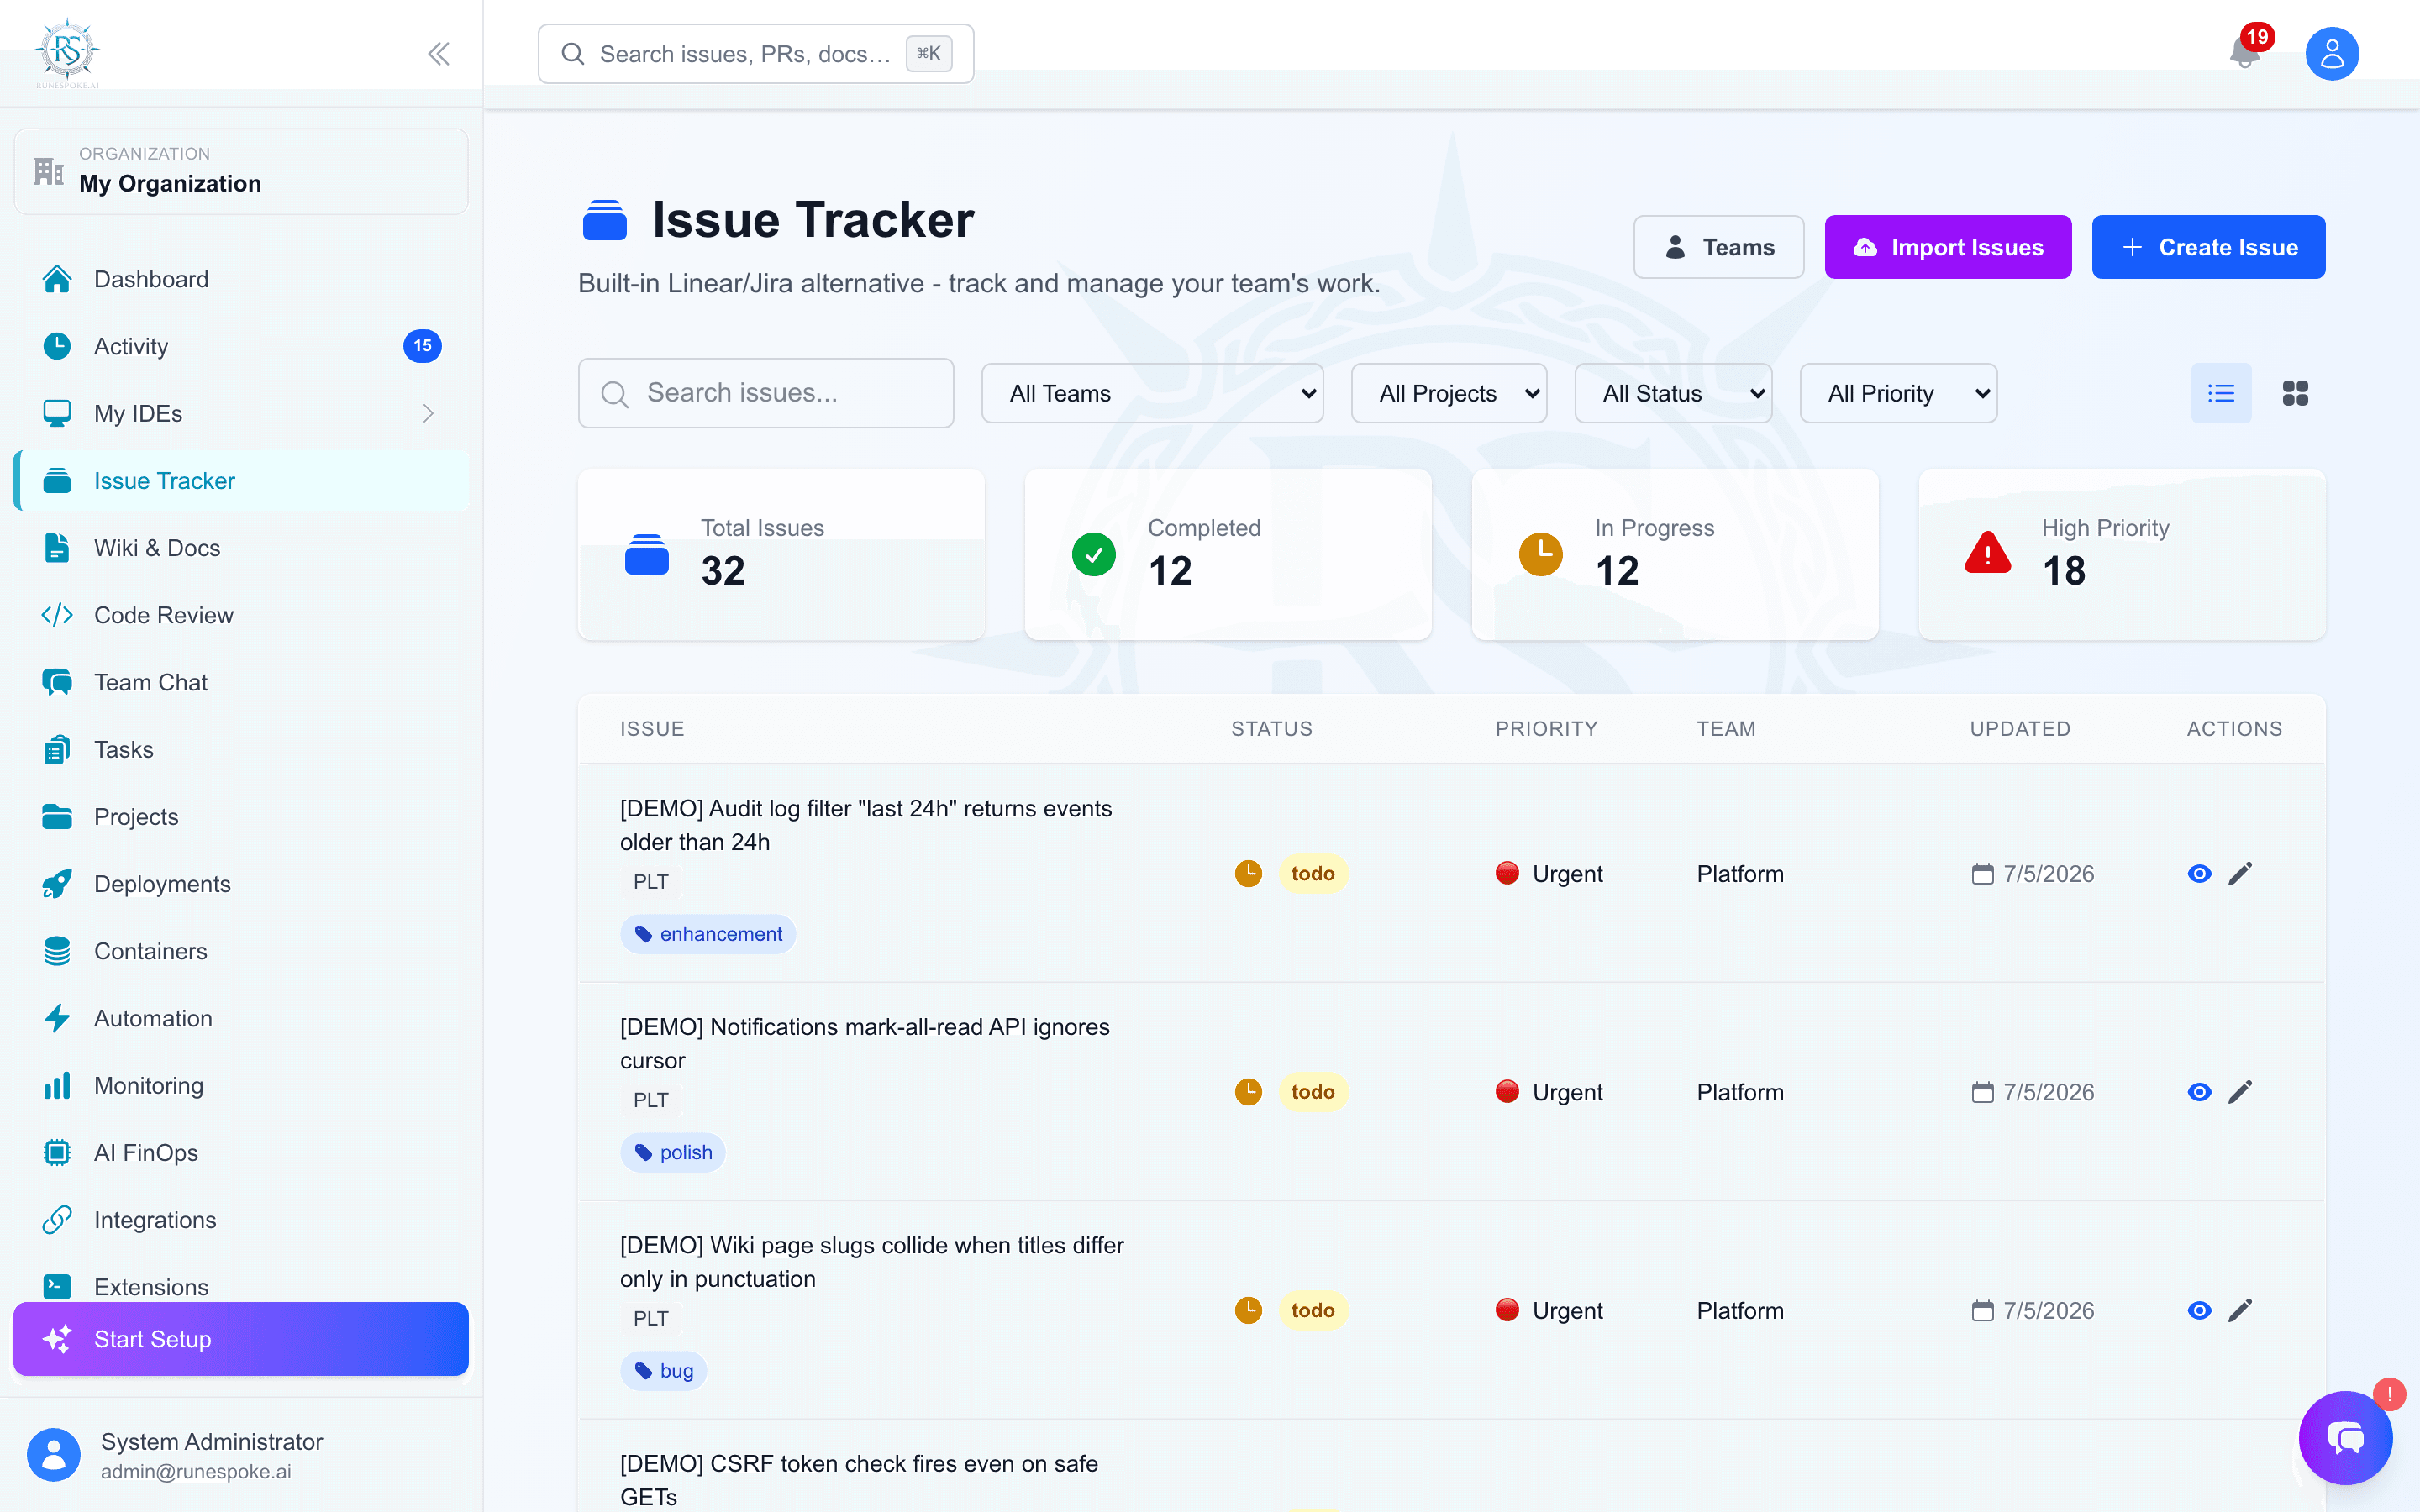
Step 4 - File an issue and open a PR
- 1From Issue Tracker → New Issue. Pick the project from the dropdown.
- 2Push a branch to GitHub for the work, open a PR against
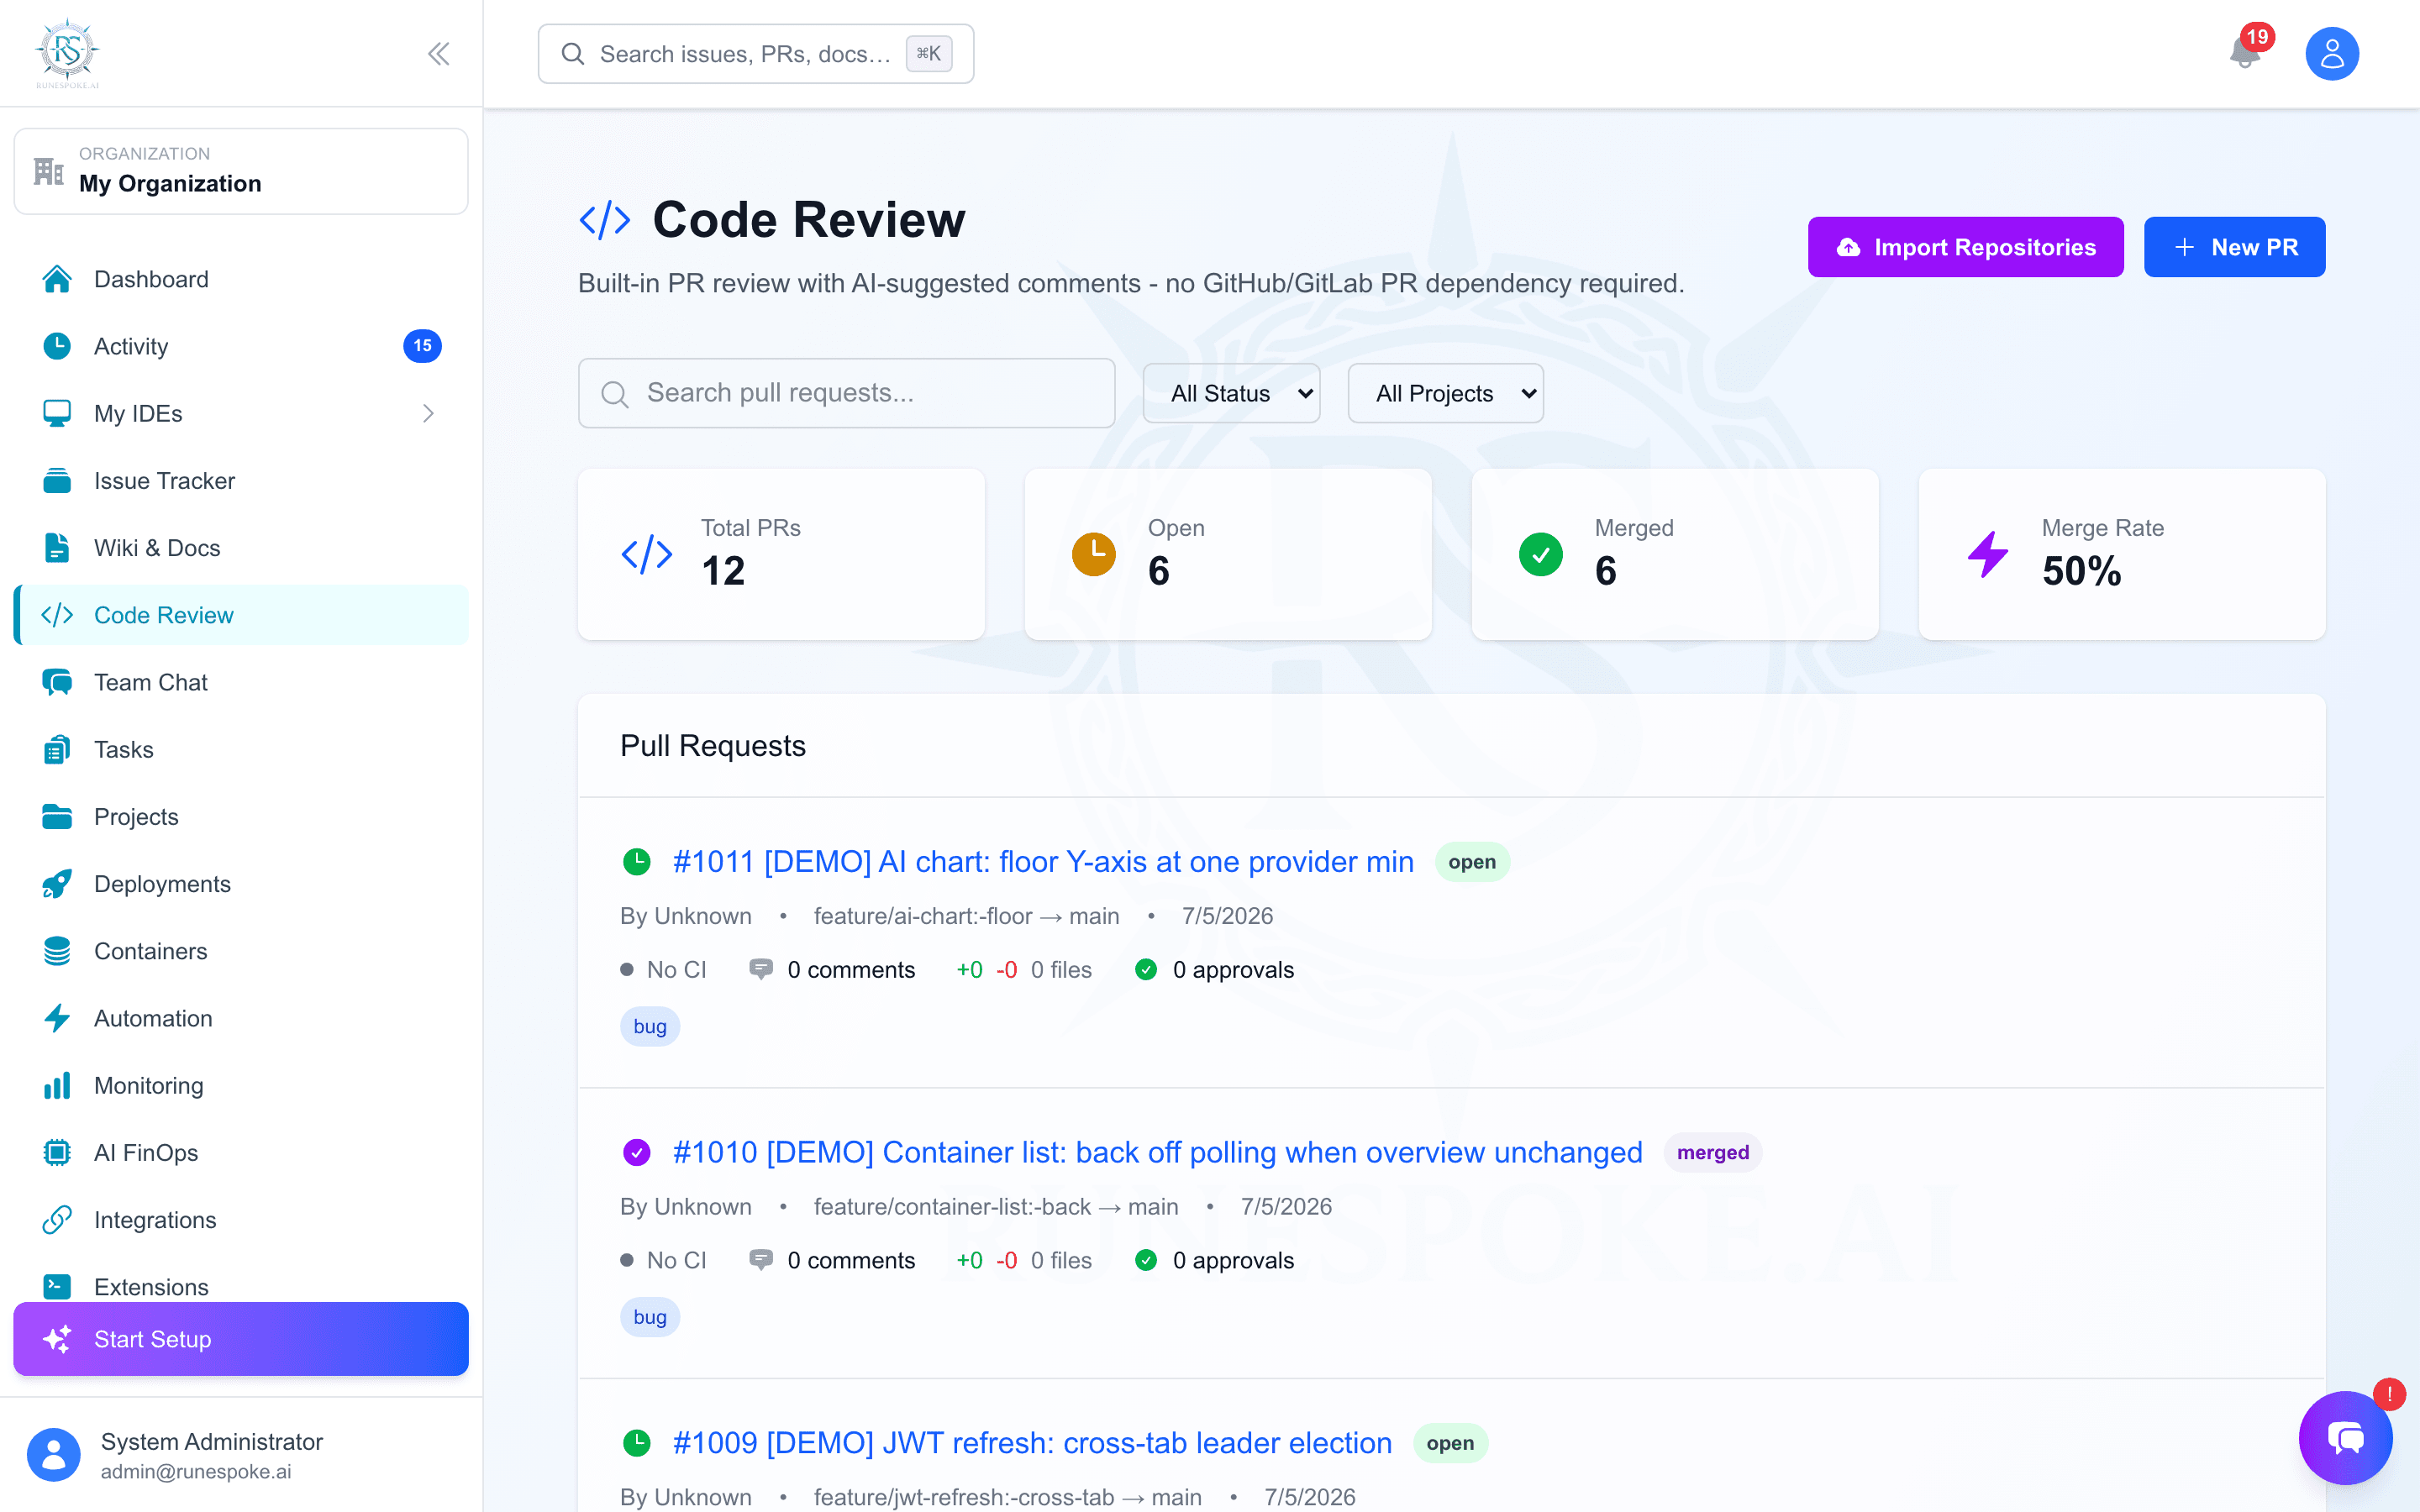
main - 3In RuneSpoke, go to Code Review → New PR
- 4Paste the GitHub PR URL in the form and pick the same project
- 5The PR detail modal will show "Sync from GitHub" - click it. RuneSpoke pulls state + CI checks.
Tip: The CI badge on the PR row goes green/yellow/red automatically once GitHub Actions reports.
Step 5 - Approve and merge
- 1Reviewers (anyone with
code_review.access) submit Approve or Request changes in the PR modal - 2The Merge button is disabled until: approvals ≥ required AND no outstanding changes-requested AND (if GitHub-linked) CI is green
- 3Force-merge is available to admins and is recorded in the Audit Log
Step 6 - Deploy
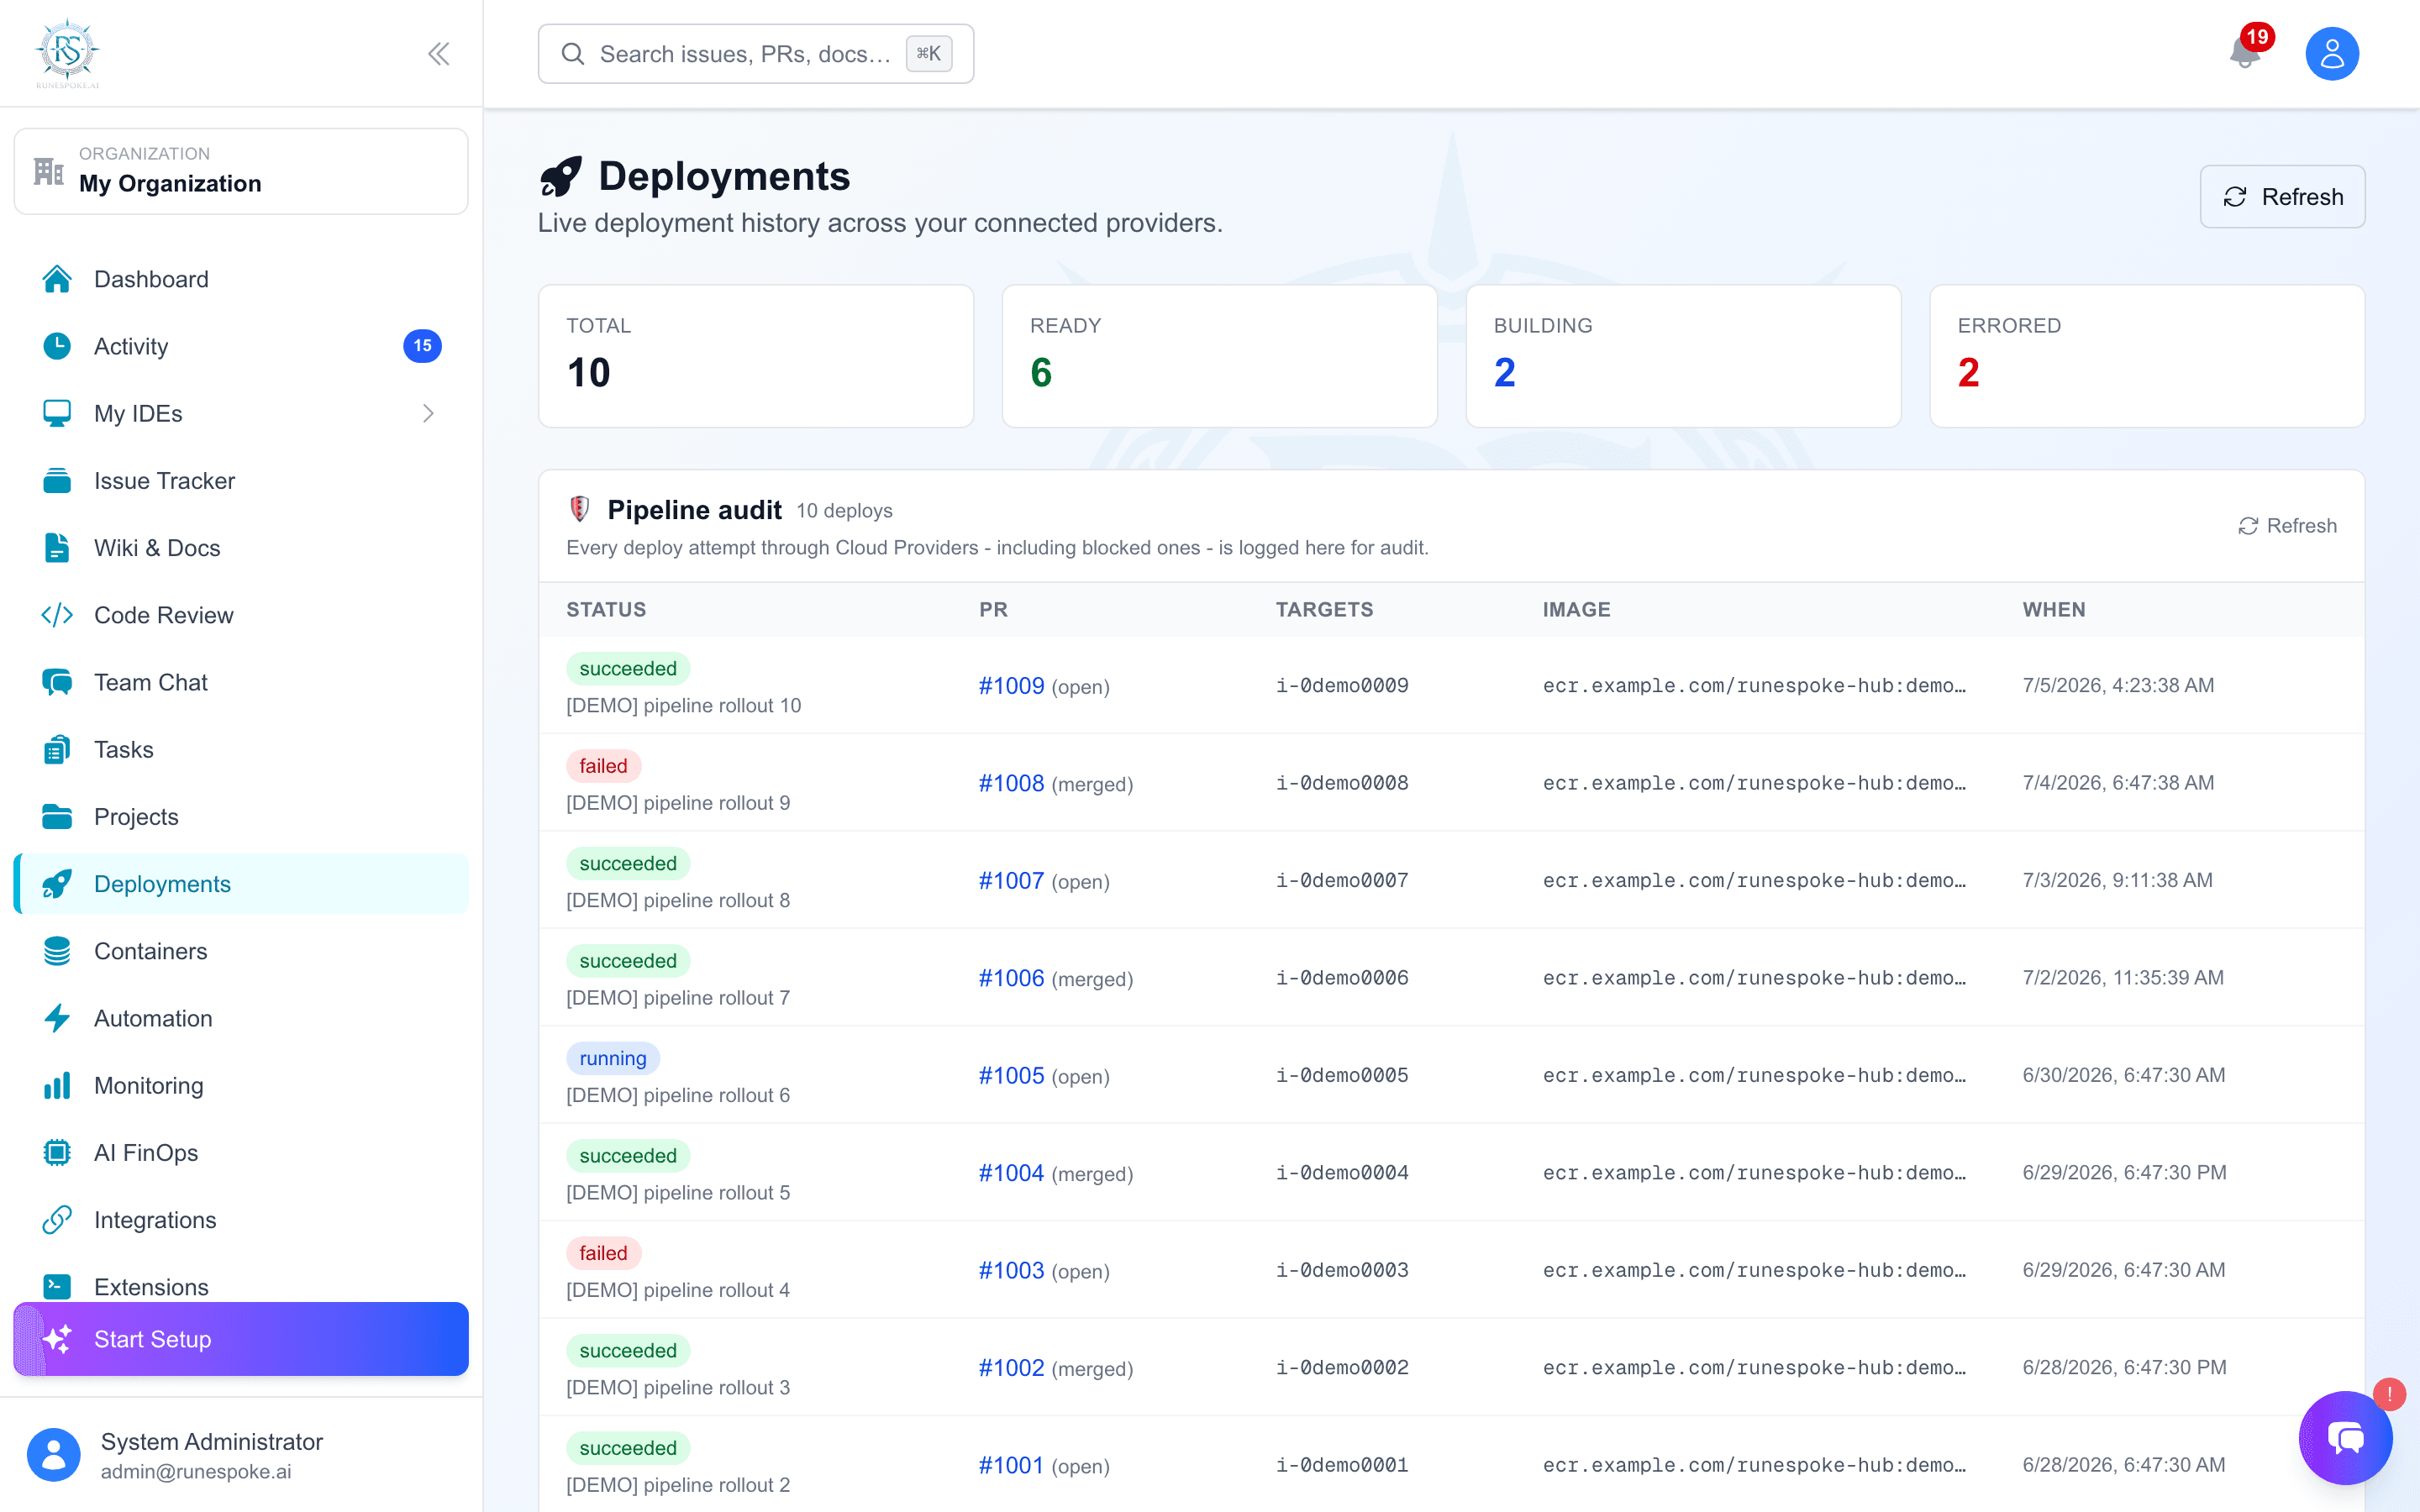
- 1Once the PR is merged, open Deployments
- 2Pick the connection + EC2 target, enter your Docker image tag, click Deploy
- 3The deploy gate refuses if the PR isn't merged (override with
forceif you absolutely have to - audit-logged) - 4The deploy command runs over SSM; output streams into the deploy history on the PR detail modal
Tip: Look at the Audit Log if a deploy was blocked - every gate failure is recorded with the reason.